The year 2020 has changed how small business owners think about the online visibility of their business. A lot of startups and small businesses were previously happy to receive business through walk-ins and referrals. The government-mandated lockdowns have forced these business owners to revisit their online presence and consider getting their own website. Most businesses typically outsource this task but then that puts pressure on the marketing budget of the business. Many times small businesses are lead by single owners and may have little or no marketing budget. In such cases, these business owners opt for a “Do It Yourself” website using help from friends and family. However, creating a website is not a simple task, especially if one does not have any previous programming or design experience. Worry Not!! Today we offer a set of simple steps for those business owners to help them get started with a Do It Yourself (DIY) single-page website in Rs2500. No Programming skills required
1. Book a Domain
Pick a meaningful name for your website and then book a domain. Most common top-level domains (e.g .com, .in , .org, .net, .co.in) are available under Rs 900 per annum. When you pick a domain name remember these four easy points.
The domain name should
1. Be easy to remember.
2. Make sense to the Organization brand
3. Be useful for digital marketing
4. Not be taken already
Need help checking the availability of your perfect domain name?
Check here (https://hosting.neurobyte.me/domain-registration/index.php)
2.Book Shared Hosting
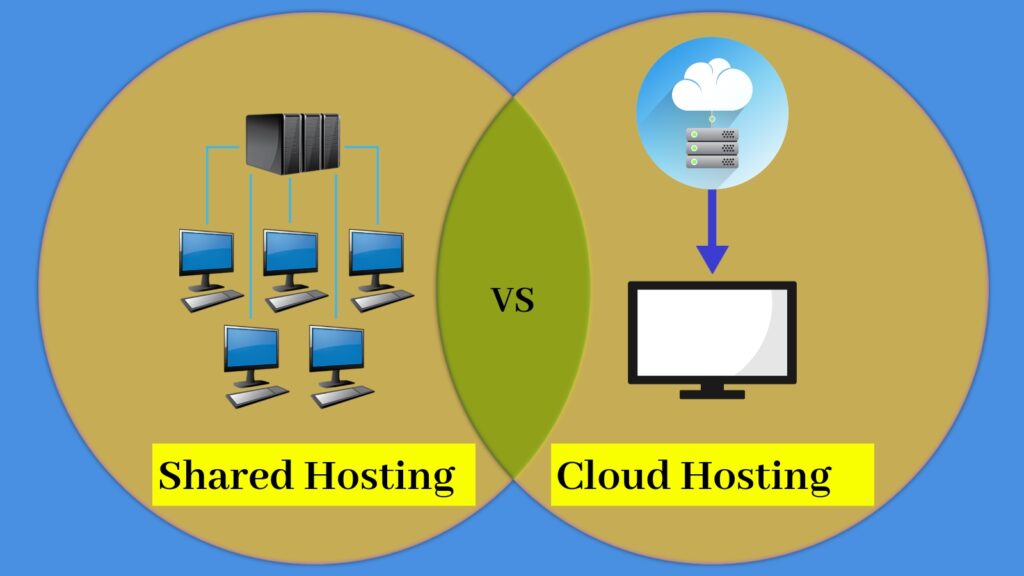
Once you have bought a domain all you have is a name for the website. There is still the need to lease server capacity where you can host the website contents. Hosting comes in many shapes and sizes so to speak. Unless there is a lot of image or video content you want to put on the website Or create dynamic and interactive applications, for most single page websites Shared Linux Hosting with about 1 GB of storage is sufficient. At NeuroByte we offer these plans starting at Rs 1560 per annum (https://hosting.neurobyte.me/web-hosting/index.php)
3. Install a Content Management System (CMS)
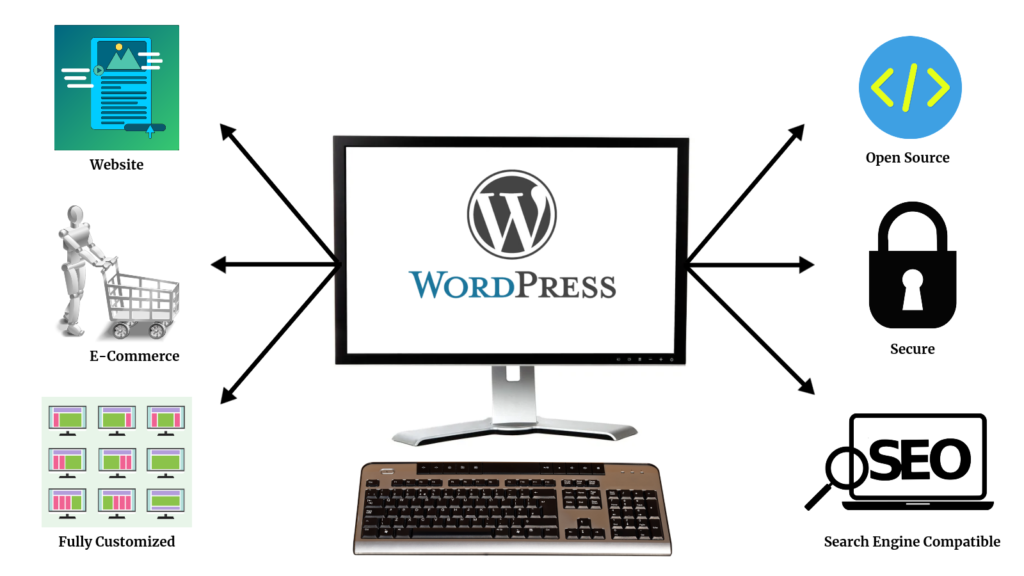
A content management system (CMS) is a software that allows users to author and publish digital content. Most hosting providers will provide a web-based management console such as cPanel which provides features such as adding email accounts, databases, installing software, etc on your server. Typically these software include PHP based content management systems. Again there are a large variety of software available. We recommend using Wordpress. Also in terms of installation, we recommend installing under a folder within the main public folder of the domain such as “test”. Some CMS allows for a placeholder webpage suggesting the site is still in progress. You can use that feature if available.
4. Install a Theme (or Template)
Most content management systems (like Wordpress) provide a variety of ready templates to choose from which provide an aesthetic layout and sample pages for the website. You should be able to look up and install free themes from the CMS marketplace (e.g. https://wordpress.org/themes/)
Pick something that most closely approximates the look, feel and content layout that you want to present on the website.
5. Add contents
A theme will usually add placeholder content to the website. From the page editing section of the CMS admin login replace the placeholder content with the text, images that you want to put on the website. Check the preview and make sure that the contents look great on the web and mobile. You can use browser dev tools on Chrome, Firefox, or Microsoft Edge to check the expected look and feel on a variety of mobile devices.
6. Test and Take Backup
If you have followed the steps above, you would have put in a significant amount of time to get your perfect website ready. However, as a creator, there is always a chance that little issues get missed. E.g. misaligned images, grammar and spelling mistakes, broken links. It’s best that you get a friend or a team member with a keen eye for detail to go through the whole site to spot these issues.
Once someone has gone through the site take a backup of the whole site so in case anything weird happens in process of launch you have a backup that can be restored.
7. Launch the Website
At this stage, you have a website that has the message and contents you want to present. But the link you to do all the editing is likely a cryptic-looking server name pointing to your hosting provider. You need to make entries in the DNS console provided by your Domain Provider so every browser in the world knows where to find the contents of your website. You would have received an email with instructions after steps 1 and 2 which mention how to change this. Usually, this would require modifying an “A record” in the DNS entries of your domain. Once this entry is done it takes about 24 to 48 hours for the website to be available for everyone.
That’s it!!! I may have oversimplified the steps presented above and perhaps you might hit roadblocks or challenges but most of those should be a google search away. Isn’t that the fun of DIY.
However, if you want professional help on this reach out to us at https://neurobyte.in/contact-us/







3 comments to “How to create a DIY website in Rs 2500?”
You can leave a reply or Trackback this post.